Showing posts with label Sewing. Show all posts

Thursday, January 15, 2015

Homemade Hand Warmers


I'm still trying to come up with a few ideas for Valentine's Day. Since it's winter and my husband works outside I was trying to come up with something warm. I've made him hats and scarves before and he's all set on gloves soooo what does that leave? Reusable hand warmers. They are simple and easily made with materials that are already in the house.

Homemade Hand Warmers

Materials:
-Fabric (Flannel or felt would be great but cutting up an old t-shirt or pillowcase works too)
-Rice
-Needle
-Thread

1. Decide what shape you want your hand warmers to be and cut a doubled piece of fabric into it. If you are making them as a Valentine you could always go with a heart shape. I opted for rectangles.


2. Put the two right sides together and sew all along the edges of your shape either by hand or using a sewing machine. Make sure to leave a small section to flip your shape right-side-out and to put the rice in.


3. Flip the shape.


4. Fill with rice and sew up the last section.


You're done! Heat for 30-40 seconds in the microwave and you're set!
Happy Crafting!

Thursday, January 8, 2015

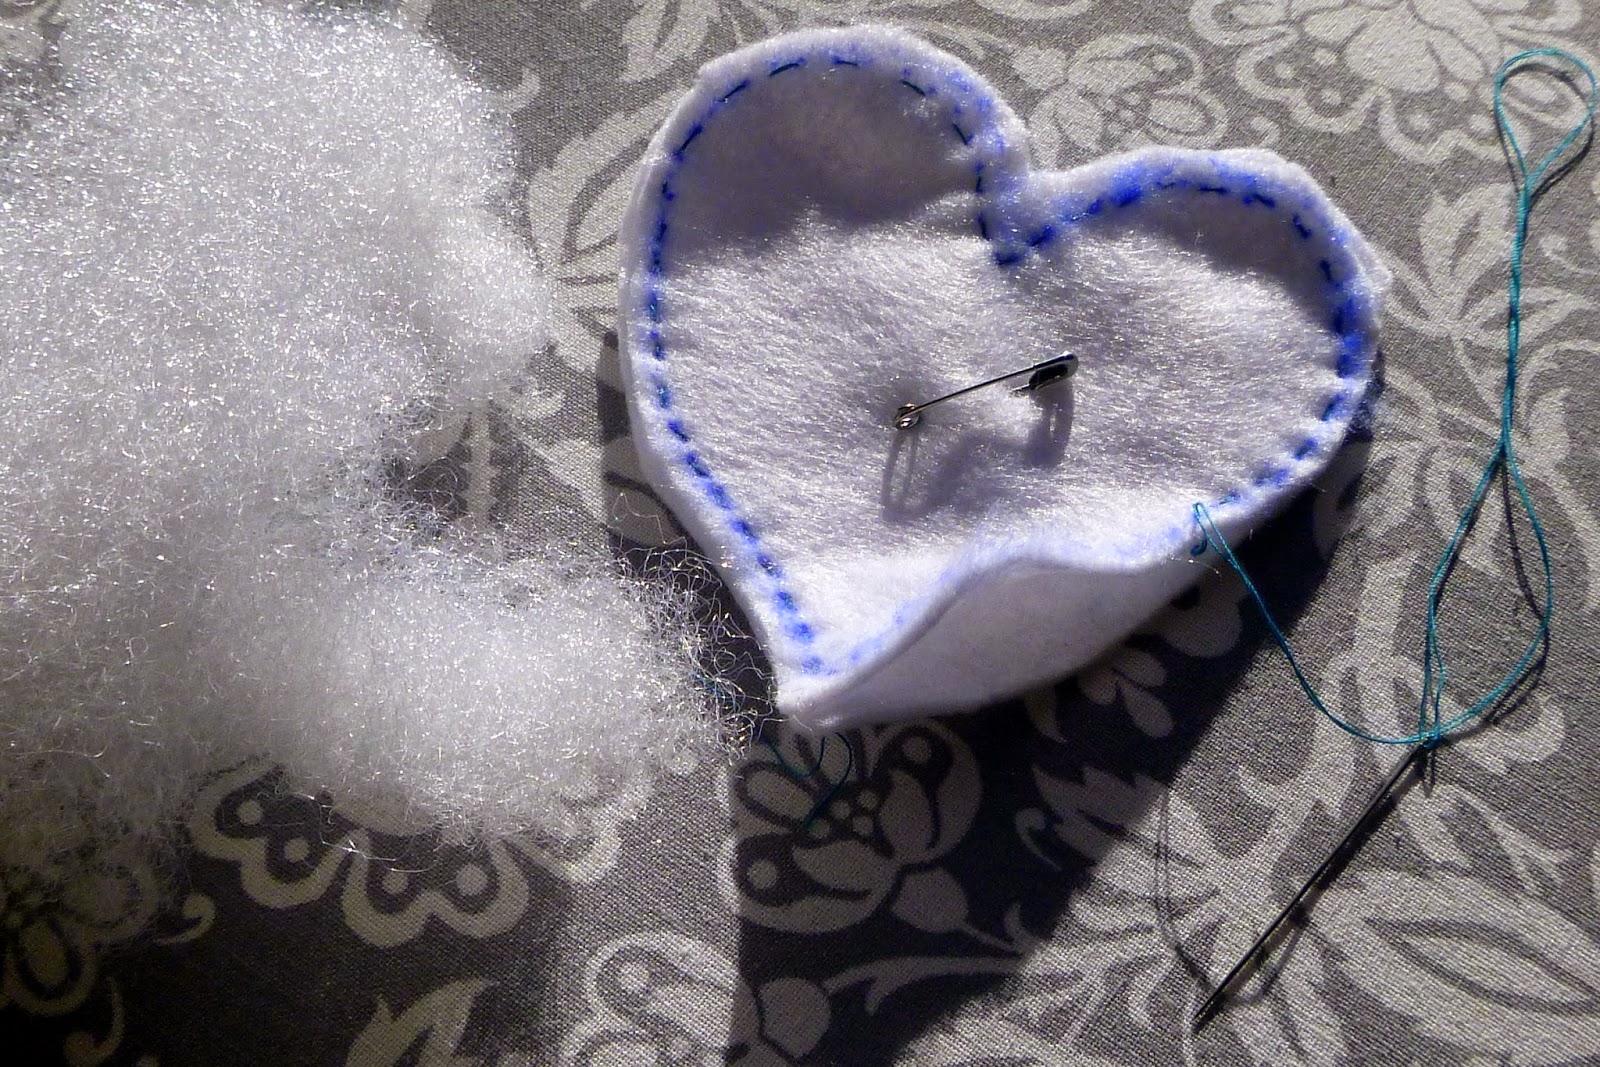
Children's Sewing Project-Stuffed Animal


Okay, so previously I posted about how to make children's sewing cards. They are a great way for kids to practice the very basics of sewing. Once they have it down you can move on to fabric. My oldest daughter wanted to make a stuffed animal for her sister's birthday and we found a great way for her to take what she did with the sewing card and apply it in a way that made sense for the stuffed animal. If you're looking for a gift to give a kiddo, collecting the materials and directions in a jar and decorating it would be a great homemade gift. Just be sure to check with the parents to make sure they are okay with the kiddo having a needle. Alright, here we go.

For the project you'll need:
-Some sort of fabric to use (we used felt)
-Marker with a fine tip
-Something to stuff the animal with (we used Polyfil)
-Needle
-Thread

1. Take a piece of fabric that is doubled over. Directly on the fabric take a sharpie or something that will write well on it and draw the outline of what you are wanting to make. You can do this or they can.


2. Next, safety pin the two layers together and cut out the shape.


3. Once you have your shape cut out take a sharpie and dot all along the edge of the shape. Keep the dots fairly close together.


4. Next take your needle, thread it and knot the ends together. Now you're ready to start. I showed my daughter the first stitch, explaining that she needed to make sure the needle went through both layers and she was off from there. Make sure you let them know they need to stop at a certain point so you can fill the animal and then they can finish it.


5. When they get to the stopping place remove the pin and go ahead and have them fill it.


6. Now they can finish up. Show them how to knot the thread at the end.


You're finished!

It's a pretty easy project to get going and they have a great sense of accomplishment when it's over.

Happy Crafting!


Monday, January 5, 2015

Children's Sewing Cards


So most of us who are parents have come across the little lacing card things that we give to our kids. You know, they are fun shapes and the kids take a giant shoelace and go in and out of the holes to practice their hand-eye coordination. We say "Look! You're sewing!" and they look up at us with a big accomplished grin. Okay, well my kid loved that but she never got over that it didn't look like Mom's stuff. There was no needle, this wasn't thread. Now that she's a little older she really doesn't want anything to do with that toy, but when I try to get her sewing a piece of fabric (even cross-stitch fabric) it ends up a giant mess of a knot. What I needed was a happy medium. So we decided to make our own sewing card. Using a piece of scrap cardboard (think pieces of a cereal box) and my sewing machine (minus the thread) we got this thing going.

 To begin with I cut a piece of cardboard into a simple shape like a circle or rectangle. You can try pretty much anything but this was easiest to start out.


Next I used my sewing machine (minus thread) to punch holes all along the edges of the card.


Last I take real thread and put it through a real needle. Here's the part I can't stress enough. Tie the two ends of the thread together, making a knot at the bottom. While they are sewing if they drop the needle at any point (as kids are likely to do) it will hang there instead of sliding off the thread and onto the floor never to be seen again (until it's sticking out of your foot). Seriously, knot those suckers together.


So you've got the threaded needle and the card with holes punched, show your kiddo how to sew in and out and you've won yourself some peace and quiet my friend. Enjoy!


Stay tuned! I have another project along these lines that the kiddos can go after once they've had some practice with the cards. I'll be posting it soon!