
For the project you'll need:
-Some sort of fabric to use (we used felt)
-Marker with a fine tip
-Something to stuff the animal with (we used Polyfil)
-Needle
-Thread
1. Take a piece of fabric that is doubled over. Directly on the fabric take a sharpie or something that will write well on it and draw the outline of what you are wanting to make. You can do this or they can.


2. Next, safety pin the two layers together and cut out the shape.


3. Once you have your shape cut out take a sharpie and dot all along the edge of the shape. Keep the dots fairly close together.

4. Next take your needle, thread it and knot the ends together. Now you're ready to start. I showed my daughter the first stitch, explaining that she needed to make sure the needle went through both layers and she was off from there. Make sure you let them know they need to stop at a certain point so you can fill the animal and then they can finish it.

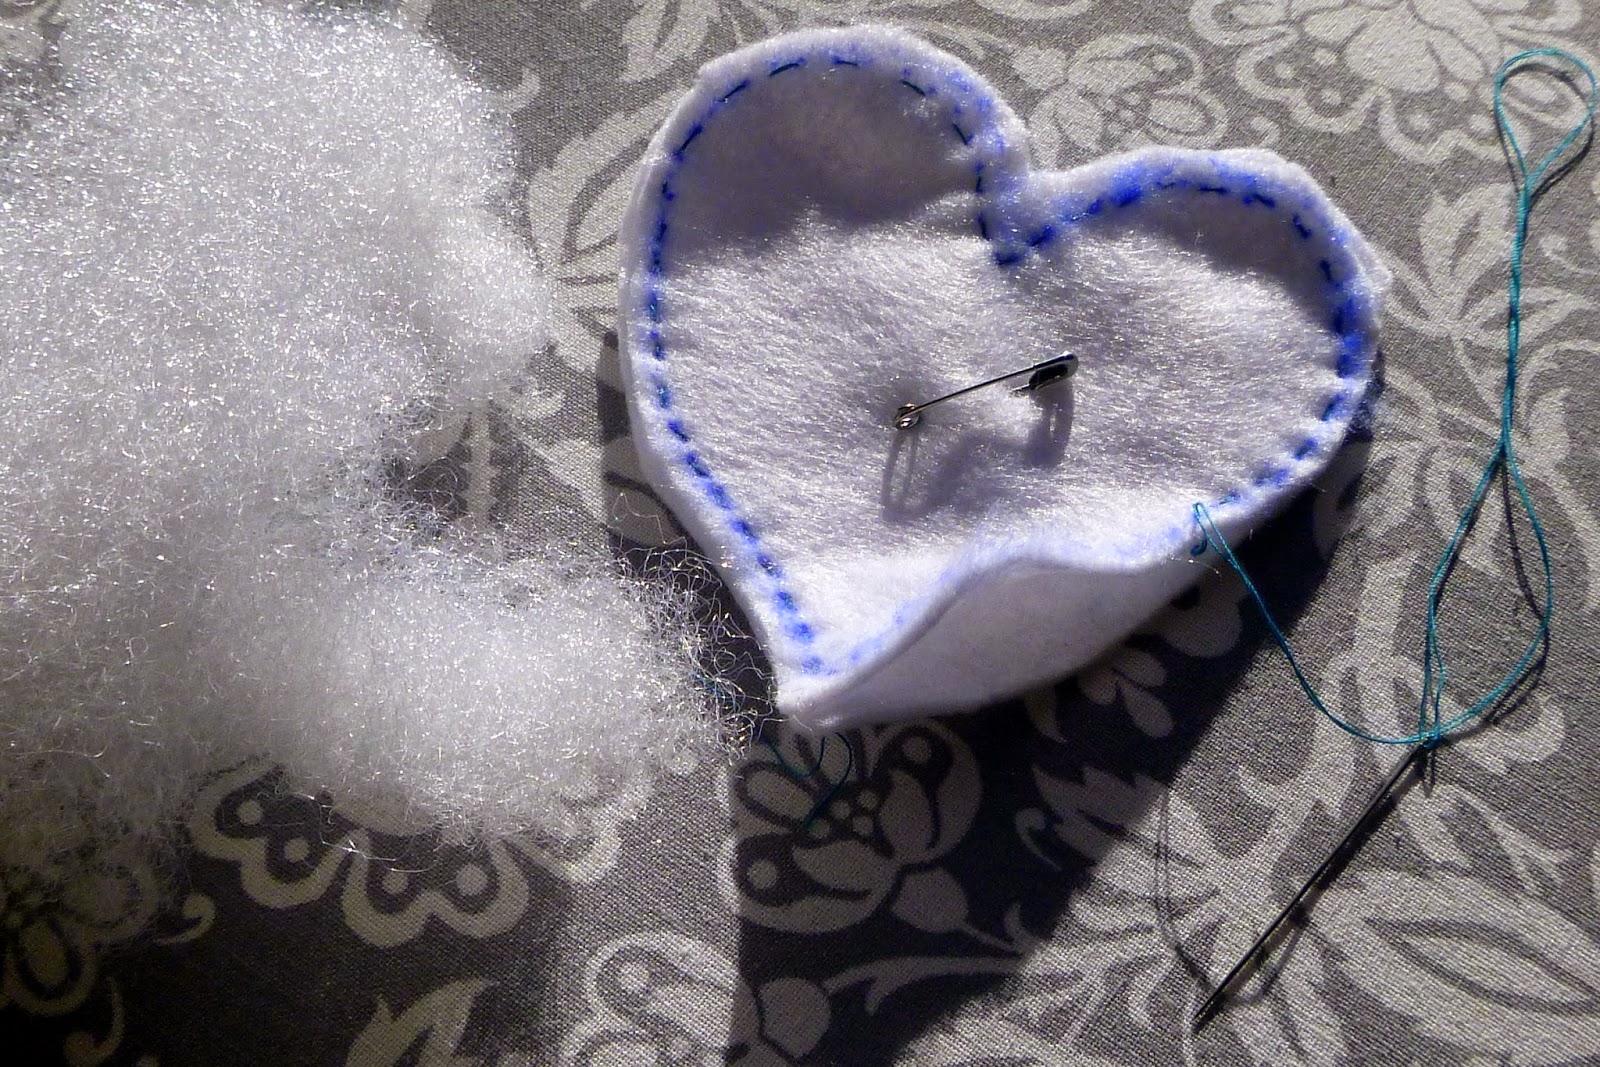
5. When they get to the stopping place remove the pin and go ahead and have them fill it.

6. Now they can finish up. Show them how to knot the thread at the end.
You're finished!
It's a pretty easy project to get going and they have a great sense of accomplishment when it's over.
Happy Crafting!
No comments:
Post a Comment