Thursday, January 15, 2015

Homemade Hand Warmers


I'm still trying to come up with a few ideas for Valentine's Day. Since it's winter and my husband works outside I was trying to come up with something warm. I've made him hats and scarves before and he's all set on gloves soooo what does that leave? Reusable hand warmers. They are simple and easily made with materials that are already in the house.

Homemade Hand Warmers

Materials:
-Fabric (Flannel or felt would be great but cutting up an old t-shirt or pillowcase works too)
-Rice
-Needle
-Thread

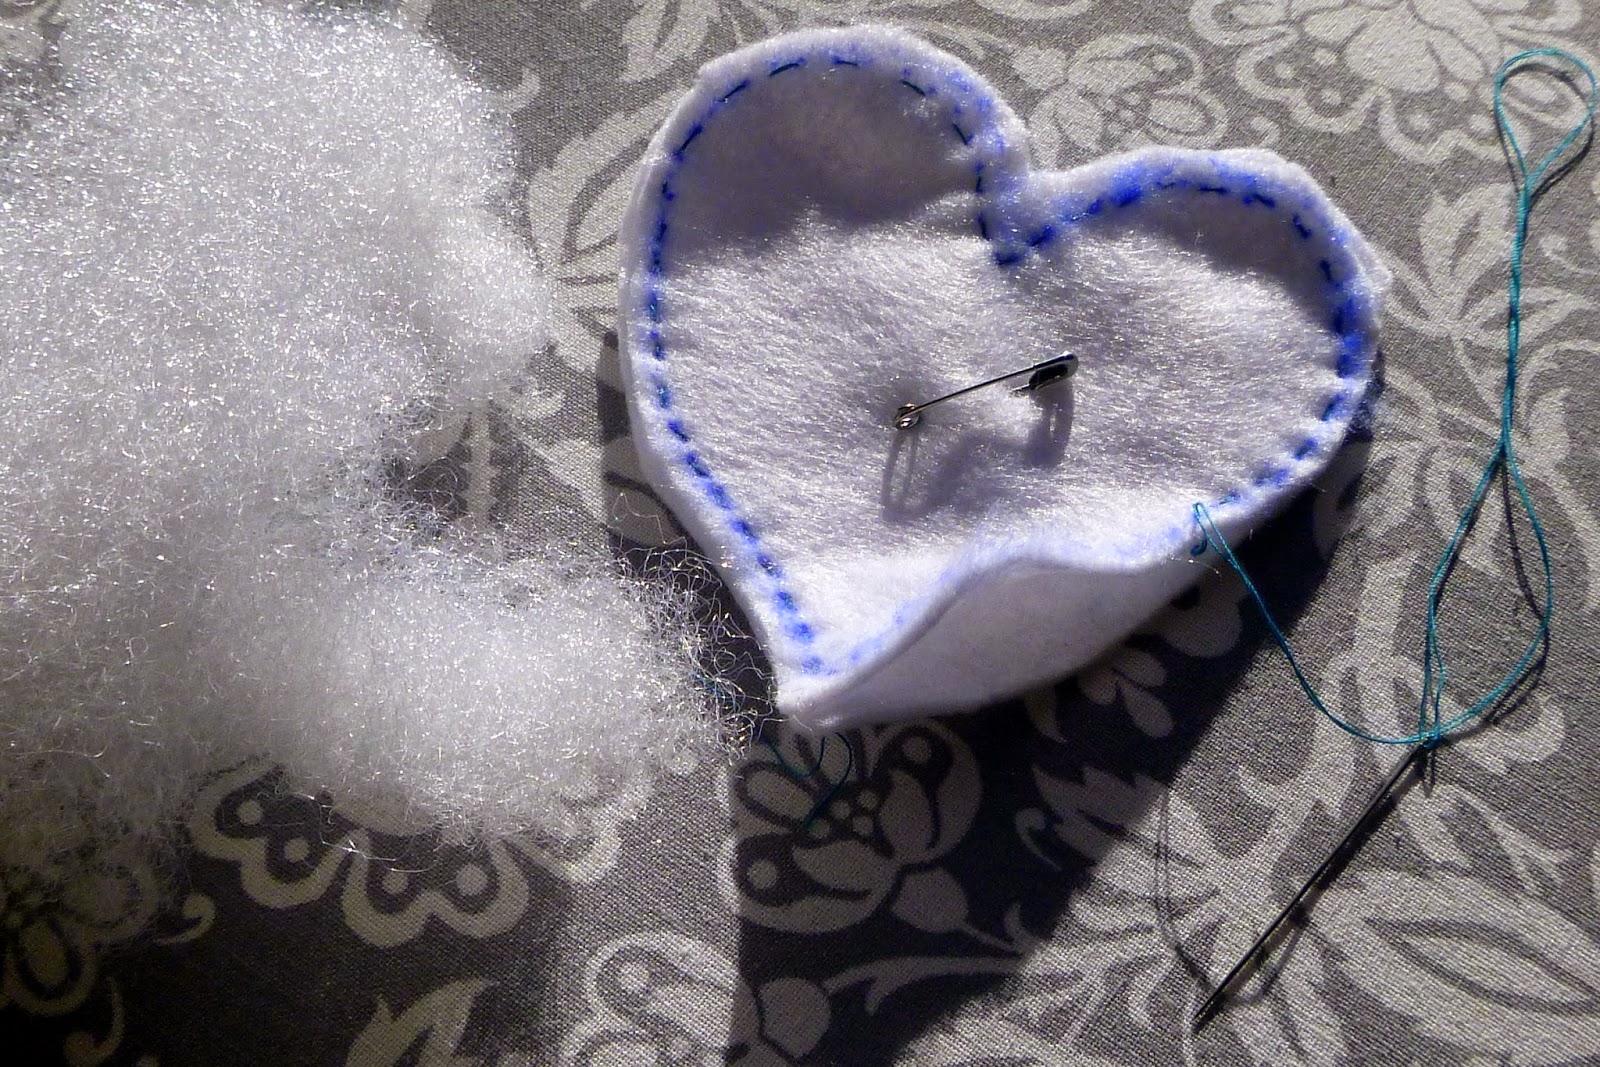
1. Decide what shape you want your hand warmers to be and cut a doubled piece of fabric into it. If you are making them as a Valentine you could always go with a heart shape. I opted for rectangles.


2. Put the two right sides together and sew all along the edges of your shape either by hand or using a sewing machine. Make sure to leave a small section to flip your shape right-side-out and to put the rice in.


3. Flip the shape.


4. Fill with rice and sew up the last section.


You're done! Heat for 30-40 seconds in the microwave and you're set!
Happy Crafting!

Wednesday, January 14, 2015

Knit Bookmark Patterns


Valentine's Day is next month and it's time to start storing away ideas for some crafty gifts. For the reader in your life, making a bookmark is a lovely gesture. Pair it with a book or a gift certificate to their favorite bookstore and you have a great present. I wanted to do some knit ones so I worked up this little pattern today and thought I would share. Sock yarn works best because it lays more flat, however, it takes FOREVER. I opted for sport and size 5 needles which was a bit bulkier but took about half the time. Alright, here we go.

Cable Knit Bookmark

Materials:
yarn (sport weight or sock)
corresponding size straight needles
Cabling needle or double pointed needle same size

Cast on 14 st
Row 1: k3, p2, k4, p2,k3
Row 2: k1, p2, k2, p4, k2, p2, k1
Row 3: k3, p2, slide 2 stitches onto cable needle and leave in front, k2, k2 from cable needle, p2, k3
Row 4: k1, p2, k2, p4, k2, p2, k1
Repeat rows1-4 until your bookmark reaches desired length.

Bind off, weave in the ends and you're done! I added a little fringe to each end but they look lovely either way. Enjoy!


Looking for something simpler? Try this one.


Simply Knit Bookmark

Materials:
yarn-worsted weight or sport
corresponding size straight needles (I prefer size 5 or 6)

Cast on 10 st.
Knit across for the first row and repeat until you reach your desired length.
Bind off, weave in the end.


Have fun!


Thursday, January 8, 2015

Children's Sewing Project-Stuffed Animal


Okay, so previously I posted about how to make children's sewing cards. They are a great way for kids to practice the very basics of sewing. Once they have it down you can move on to fabric. My oldest daughter wanted to make a stuffed animal for her sister's birthday and we found a great way for her to take what she did with the sewing card and apply it in a way that made sense for the stuffed animal. If you're looking for a gift to give a kiddo, collecting the materials and directions in a jar and decorating it would be a great homemade gift. Just be sure to check with the parents to make sure they are okay with the kiddo having a needle. Alright, here we go.

For the project you'll need:
-Some sort of fabric to use (we used felt)
-Marker with a fine tip
-Something to stuff the animal with (we used Polyfil)
-Needle
-Thread

1. Take a piece of fabric that is doubled over. Directly on the fabric take a sharpie or something that will write well on it and draw the outline of what you are wanting to make. You can do this or they can.


2. Next, safety pin the two layers together and cut out the shape.


3. Once you have your shape cut out take a sharpie and dot all along the edge of the shape. Keep the dots fairly close together.


4. Next take your needle, thread it and knot the ends together. Now you're ready to start. I showed my daughter the first stitch, explaining that she needed to make sure the needle went through both layers and she was off from there. Make sure you let them know they need to stop at a certain point so you can fill the animal and then they can finish it.


5. When they get to the stopping place remove the pin and go ahead and have them fill it.


6. Now they can finish up. Show them how to knot the thread at the end.


You're finished!

It's a pretty easy project to get going and they have a great sense of accomplishment when it's over.

Happy Crafting!


Monday, January 5, 2015

Children's Sewing Cards


So most of us who are parents have come across the little lacing card things that we give to our kids. You know, they are fun shapes and the kids take a giant shoelace and go in and out of the holes to practice their hand-eye coordination. We say "Look! You're sewing!" and they look up at us with a big accomplished grin. Okay, well my kid loved that but she never got over that it didn't look like Mom's stuff. There was no needle, this wasn't thread. Now that she's a little older she really doesn't want anything to do with that toy, but when I try to get her sewing a piece of fabric (even cross-stitch fabric) it ends up a giant mess of a knot. What I needed was a happy medium. So we decided to make our own sewing card. Using a piece of scrap cardboard (think pieces of a cereal box) and my sewing machine (minus the thread) we got this thing going.

 To begin with I cut a piece of cardboard into a simple shape like a circle or rectangle. You can try pretty much anything but this was easiest to start out.


Next I used my sewing machine (minus thread) to punch holes all along the edges of the card.


Last I take real thread and put it through a real needle. Here's the part I can't stress enough. Tie the two ends of the thread together, making a knot at the bottom. While they are sewing if they drop the needle at any point (as kids are likely to do) it will hang there instead of sliding off the thread and onto the floor never to be seen again (until it's sticking out of your foot). Seriously, knot those suckers together.


So you've got the threaded needle and the card with holes punched, show your kiddo how to sew in and out and you've won yourself some peace and quiet my friend. Enjoy!


Stay tuned! I have another project along these lines that the kiddos can go after once they've had some practice with the cards. I'll be posting it soon!

Thursday, January 1, 2015

New Years Resolution


Happy New Year!
It's that time again, time to start making resolutions. When I was in my early 20's I tried stuff to make myself cool, calm, and collected. I'm going to be more spiritual, confident, calm, patient. I will do yoga and meditate every day. Then it was expanding that brain power. I'm going to learn how to do EVERYTHING! Read EVERYTHING!  Then it was about what I ate. I'M A VEGETARIAN!! These were all great and wonderful and usually forgotten by February, remembered in November, agonized over in December. For a while I just gave up. Then, a few years ago, I heard a friend of mine talking about her resolution and I had resolution envy. Her goal for the year was to do the dishes every night after dinner instead of leaving them for in the morning. But it's not flashy! Not huge! It's so EASY! Then it hit me. Duh! Resolutions don't have to mean big, giant changes. They can be something small, meaningful and attainable. Wow. And it only took me till I was 30 folks. So here it is, my small but meaningful, fully attainable, New Year's resolution. Ready???
I'm going to write thank you cards and notes.
Boom.
That's right.
Watch out.
The mail's a comin'.
It won't be hard to remember because this is something I already have tons of guilt about! Hooray!! So with this in mind I was trying to think of a craft that could go along with my resolution, you know, m'new thang. Anyway, Pinterest to the rescue. I found a post on how people sew designs on their gift tags. They sew little snowflakes on. It made me think of all the possibilities. There is the snowflakes, absolutely, then there's embroidering little flowers. For those who paint, that's an option. You could crochet tiny flowers or borders and superglue them on. I mean, HELLO. The options are endless. Google any of these ideas and see what you get. It's killer. All you need is a little card-stock to get started and you're in the game. Keep in mind, my resolution is NOT to make every single thank you card, THAT is a joke. But if I need something to keep my creative juices from overflowing and to save a little dough on my new hobby, this will do.


Okay, so here is an example of what I'm talking about. Here I just used a scrap piece of cardboard (cut to just under the size of an envelope) and superglued some crocheted flowers on. So simple. If you like them and want to try it out, here's the pattern for the flowers.

Crocheted Sock Yarn Flowers

Materials: Leftover sock yarn, 00/3.50MM crochet hook

Ch 3, sl st into 1st ch to form a ring
Working in the ring, 
(For bigger petals)
ch6 *sc, ch6, sc*repeat 6 times. 
(For smaller petals)
ch5 *sc, ch4, sc* repeat 8 times.
First ch 6


First ch6, sc which makes the first petal


All the petals made. Almost done.

  
Cut your yarn leaving enough to slip through your last loop on the hook. 
Cut the yarn.


Slipping the end through last loop on hook.


Pull tight to knot. 
Knotted.


Cut your ends until they are small enough to tuck behind your flower when you superglue it.


Happy New Year!